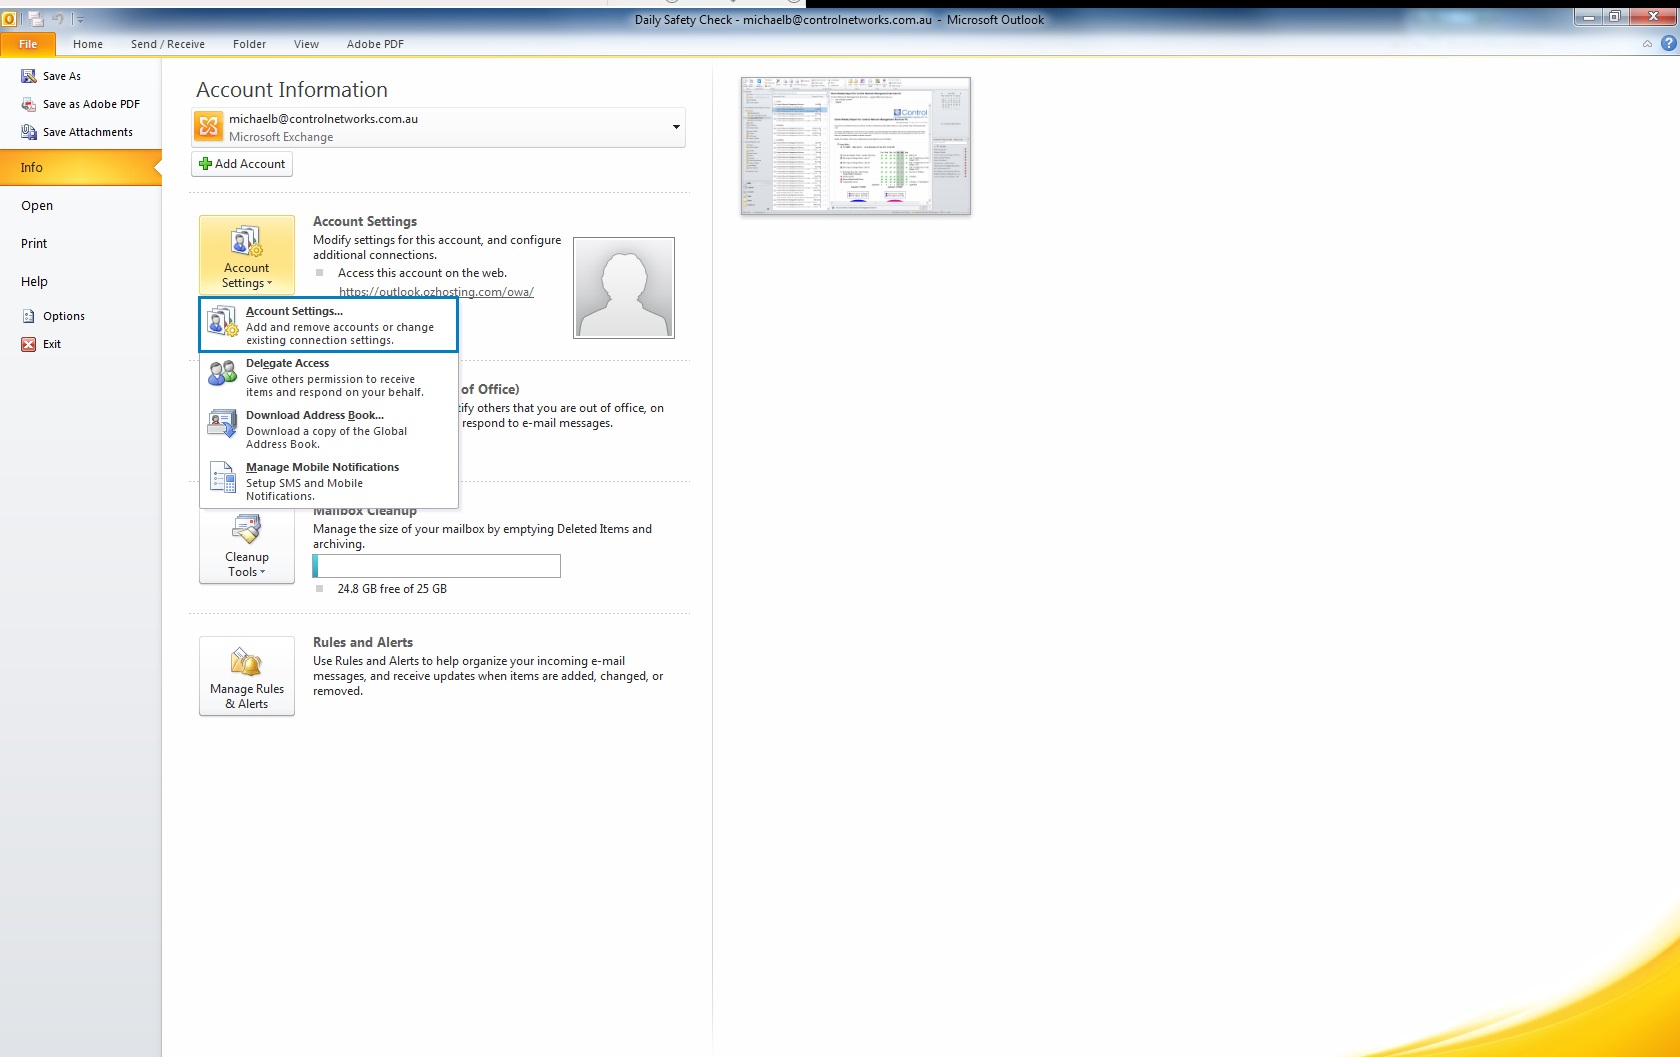
Using Autodiscover
1) Open Outlook. If you haven't set up an account before, the new account wizard will display. If you have, please follow the steps under 'If you have multiple accounts'
2) Enter your name, exchange email address and exchange password.
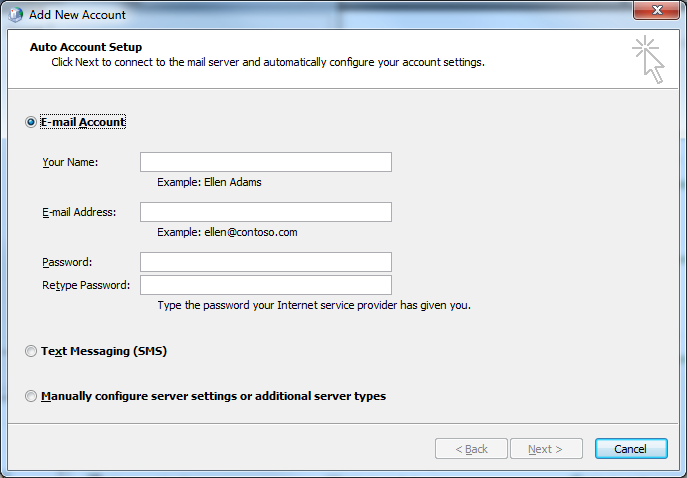
3) Click next, Outlook will attempt to automatically configure your exchange account. When you are prompted to accept the certificate, check "always accept" and click yes.
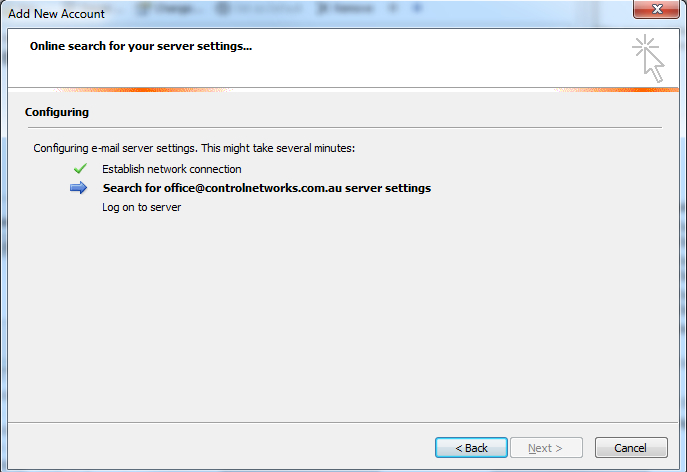
4) If successful, your exchange account will now be set up. Click finish and you're done. Outlook will begin downloading your mailbox items. This may take some time depending on the size of your mailbox.
If you have multiple accounts
1) Close all existing outlook windows
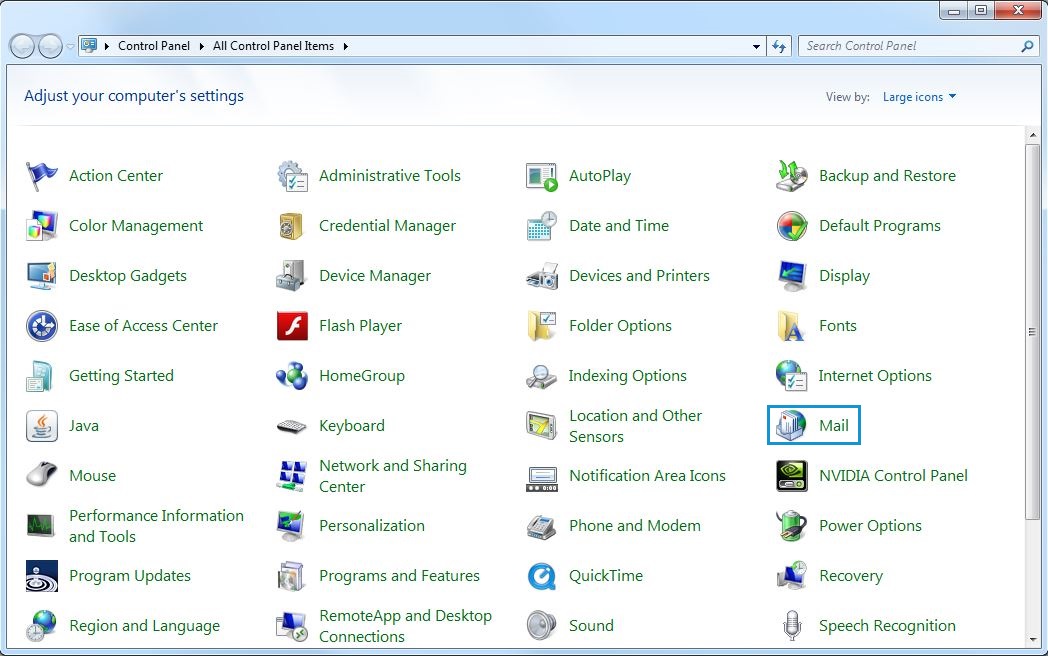
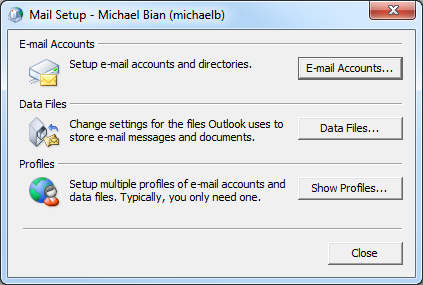
2) Go to the Start menu, and click on Control Panel
3) Click Mail (depending on your version of windows you may have to select classic view or view by small icons to find the mail icon)
4) Click E-mail Accounts... in the popup window
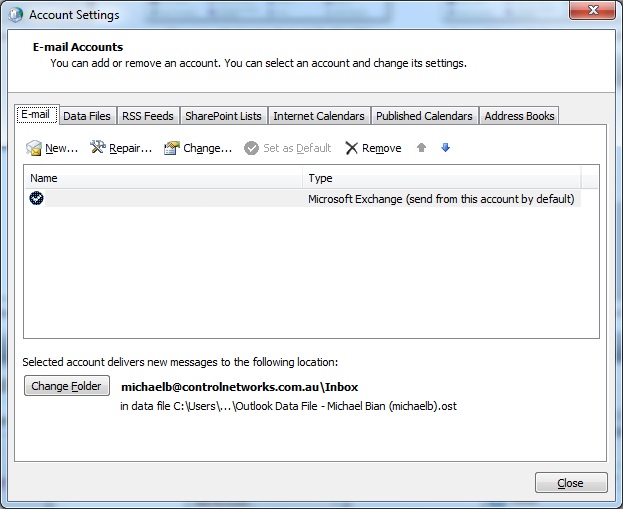
5) Click Add

6) Enter the profile name as “exchange-hosted” without the quote marks, then click Ok

7) Fill in the requested information (Name, email and password) then click Next

8) Outlook will now start configuring your email account. You will be prompted to accept the certificate. Tick the box that says “always accept” and then click Ok
9) Click Finish
10) Select the Always use this profile radio button and then select "exchange-hosted" from the drop down box

11) Click Ok
12) Open outlook and it will automatically download your email, this could take a while depending on the size of your mailbox
If you have a slow connection
Please set up your account following one of the guides above before changing these settings
1) Close all existing outlook windows
2) Go to the Start menu, and click on Control Panel
3) Click Mail (depending on your version of windows you may have to select classic view or view by small icons to find the mail icon)

4) Click E-mail Accounts... in the popup window

5) Click Change, then More Settings
6) This should open a new dialog box called 'Microsoft Exchange'
7) Click on the Connection tab, then click the Exchange Proxy Settings... button
8) In this screen, ensure that the following boxes are ticked:
- On fast networks, connect using HTTP first, then connect using TCP/IP
- On slow networks, connect using HTTP first, then connect using TCP/IP
9) Click Ok, then click Ok again in the 'Microsoft Exchange' window
10) Click Next, then Finish, then Close
11) Setup is now complete
