To further secure your access to Control Networks' Cloud services, you can employ the use of our encrypted VPN (Virtual Private Network) solution. If you don't yet have a username and password for the VPN, please contact Control Networks sales via http://www.controlnetworks.com.au/contact
Setting up the VPN connection
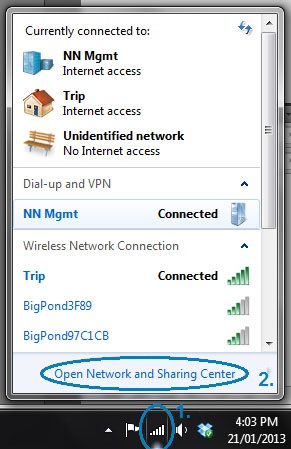
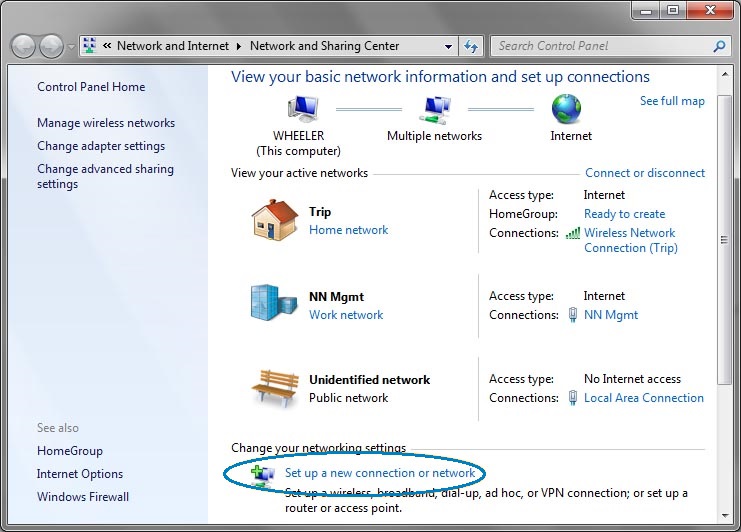
To begin, please click the network icon near your system's clock. It will look like either ![]() for a wired network, or
for a wired network, or ![]() for a wireless connection. Once your network list has opened, click Open Network and Sharing Centre, followed by Setup a New Connection or Network
for a wireless connection. Once your network list has opened, click Open Network and Sharing Centre, followed by Setup a New Connection or Network
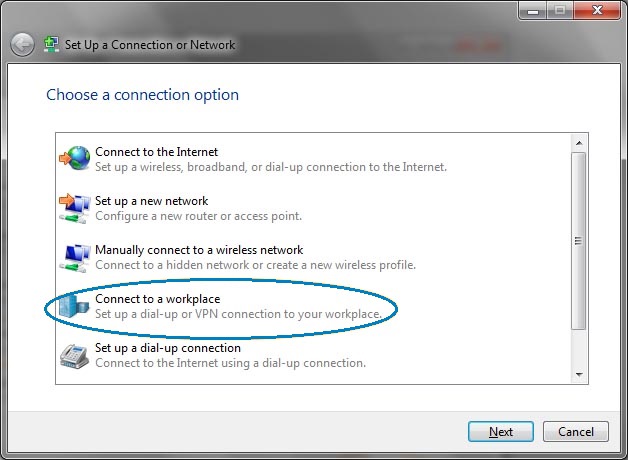
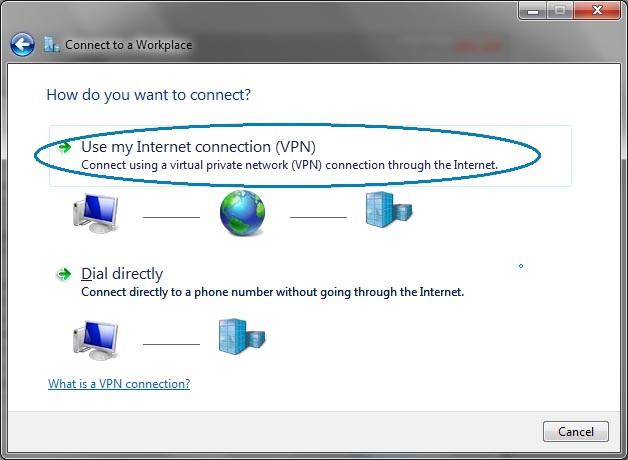
Once the new connection wizard is displayed, select Connect to a Workplace, selecting Use my Internet connection when prompted.
When presented with the connection details, enter the address vpn.neural.net.au. You can optionally change the connection's name and if required, just create the connection, without connecting to it. Once you click next, you will be prompted to enter the username and password for the connection. This will have been provided to you in the service provisioning confirmation. If you don't have these details, please contact ITHelpDesk.

Congratulations, your VPN has been setup.
Connecting to the VPN
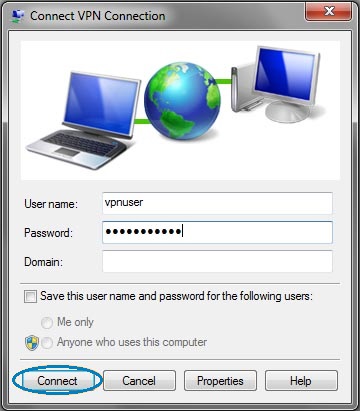
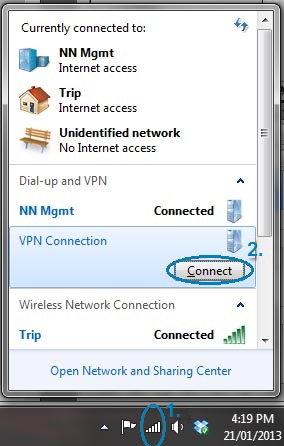
To connect to the service, show your network list by clicking the networking icon near the system's clock, select your VPN connection and click Connect. If you have previously saved your username and password, click Connect, otherwise please enter your password in the field first.