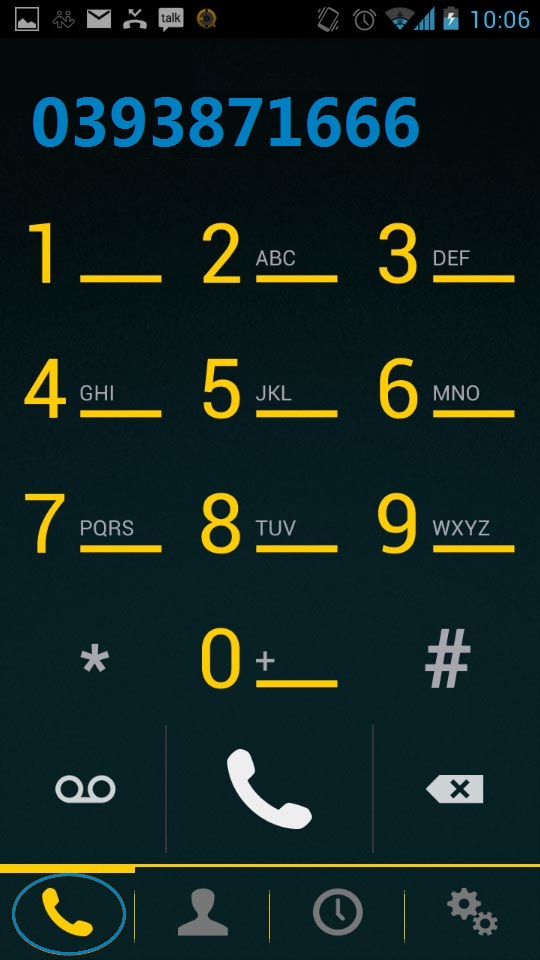
Please follow these steps to attach your mobile's Bria client to your Control Networks service.
Download and install Bria from Google Play or the iTunes Store
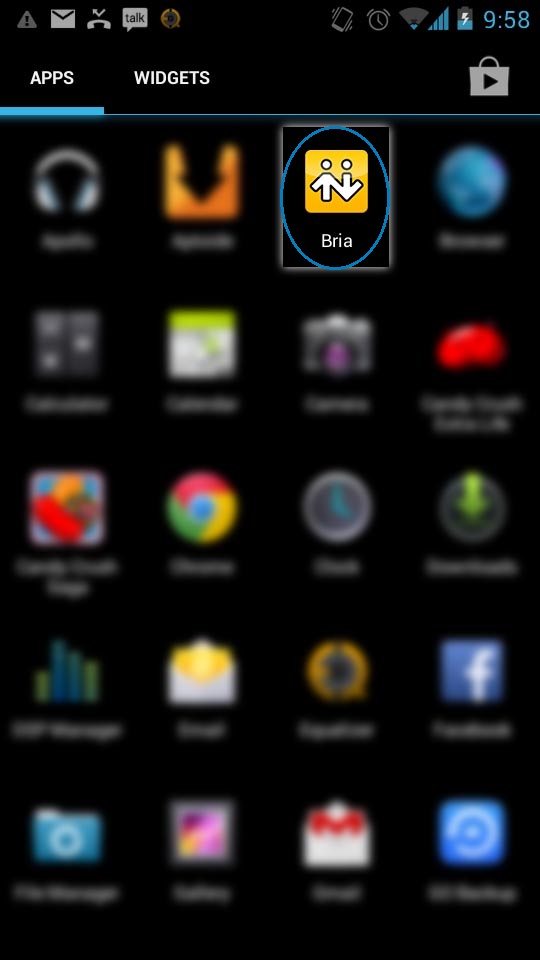
Tap the Bria icon on your home screen or in the app drawer
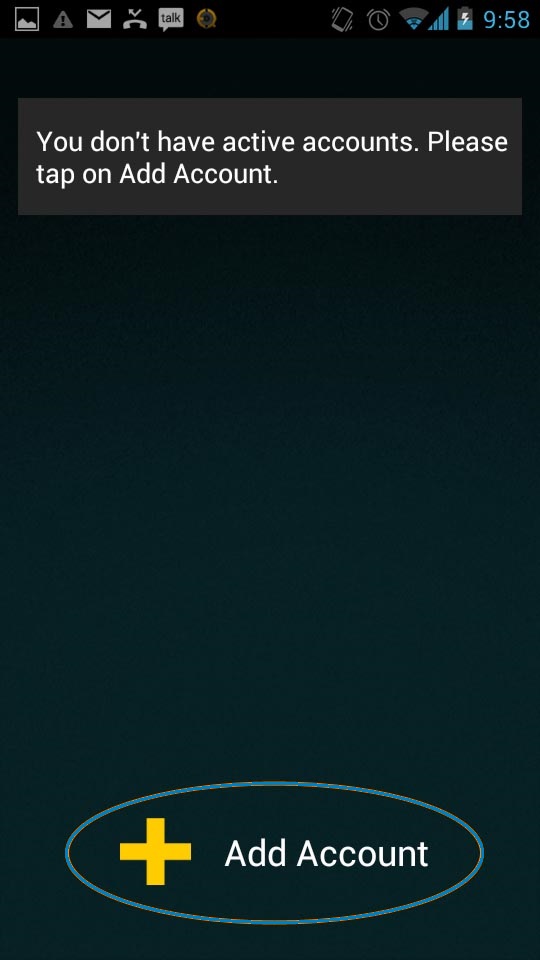
On the first run, you will be prompted to configure a new account. If not, tap the gear icon, then accounts. Choose add an account.
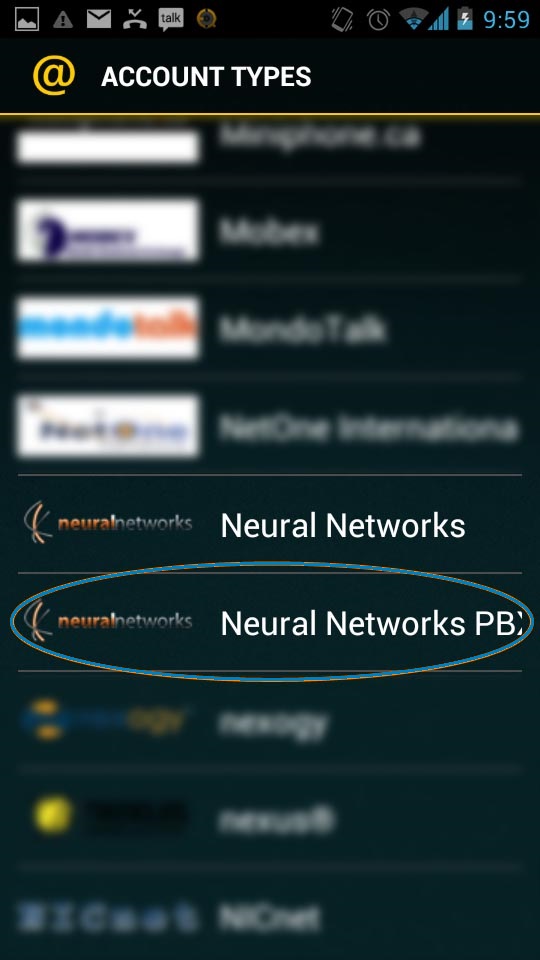
From the list, find and select Control Networks PBX
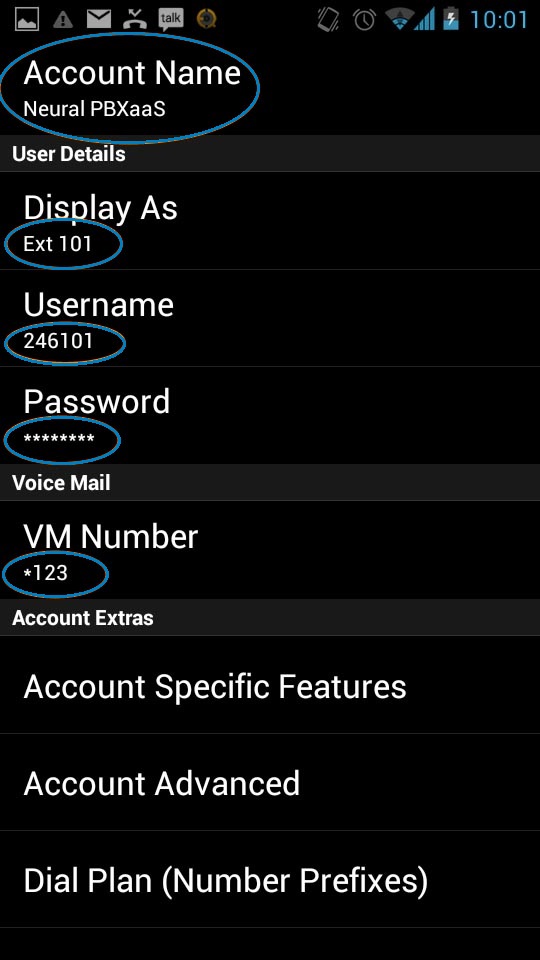
Enter the Account Name as Control Networks PBXaaS, set display as to your desired on-net display name, set the VM number to *123
Enter your Username and Password that was provided. If you do not have this, but have access to Neural VoIP Commander, you can look up your extension details by logging in to VoIP Commander, clicking PBX, then clicking edit next to your extension.
(Optional - if you find your Bria disconnects) Tap Account Advanced, then change the Mobile Keep Alive Interval to 3
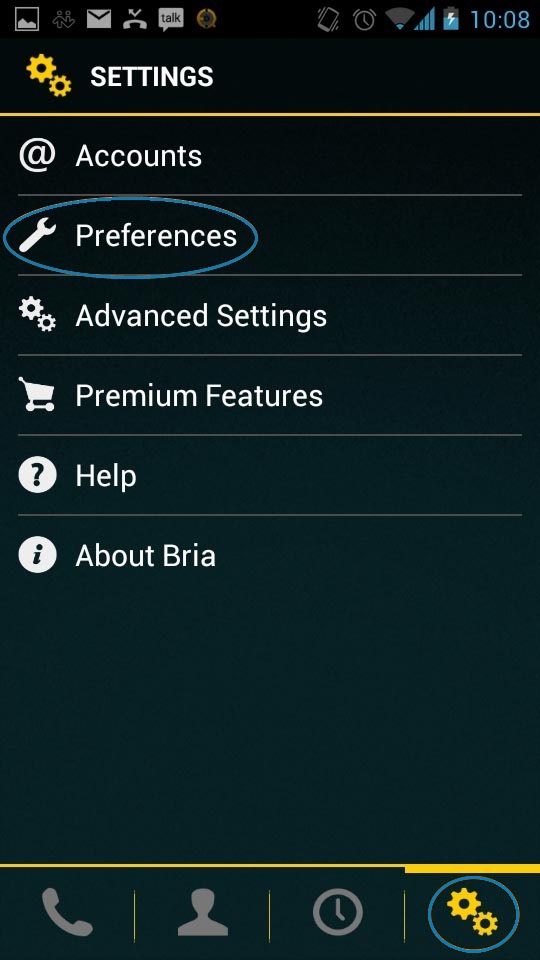
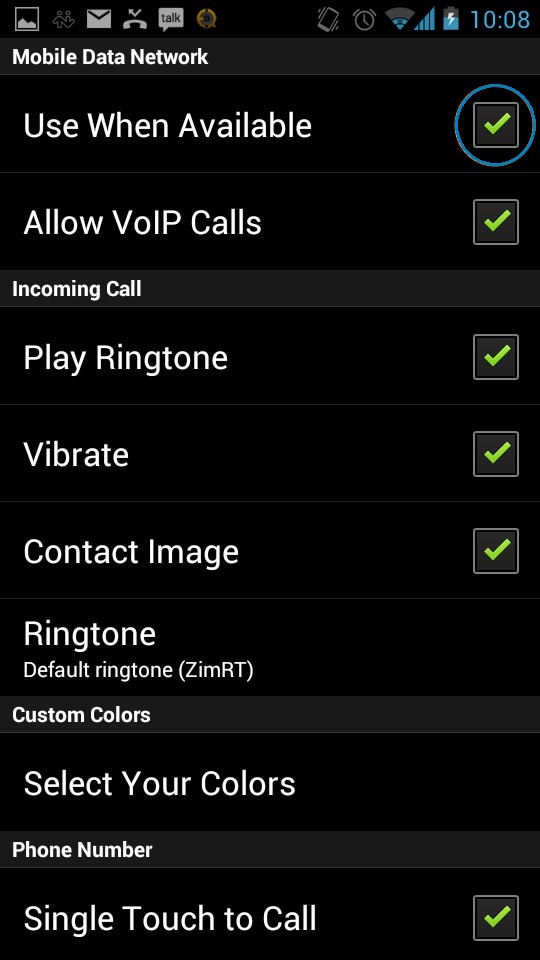
(Optional) Navigate back a page, click the gear icon, then choose Preferences. Select use mobile data when available. Please be aware this will consume your mobile data allowance while Bria is active.
You can now check the status of your extension from the accounts screen. If the phone icon is showing a green dot and two unbroken arrows, your are ready to start making calls. Navigate back to the main screen, click the phone icon, then dial as normal.

