Please follow these steps to manually attach your mobile's Bria client to your Control Networks service.
Download and install Bria from Google Play or the iTunes Store
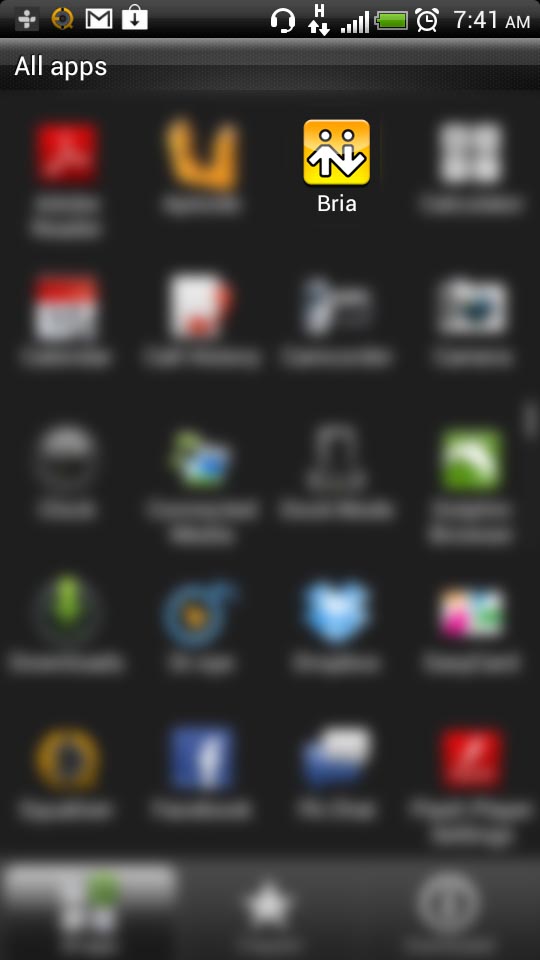
Tap the Bria icon on your home screen or in the app drawer
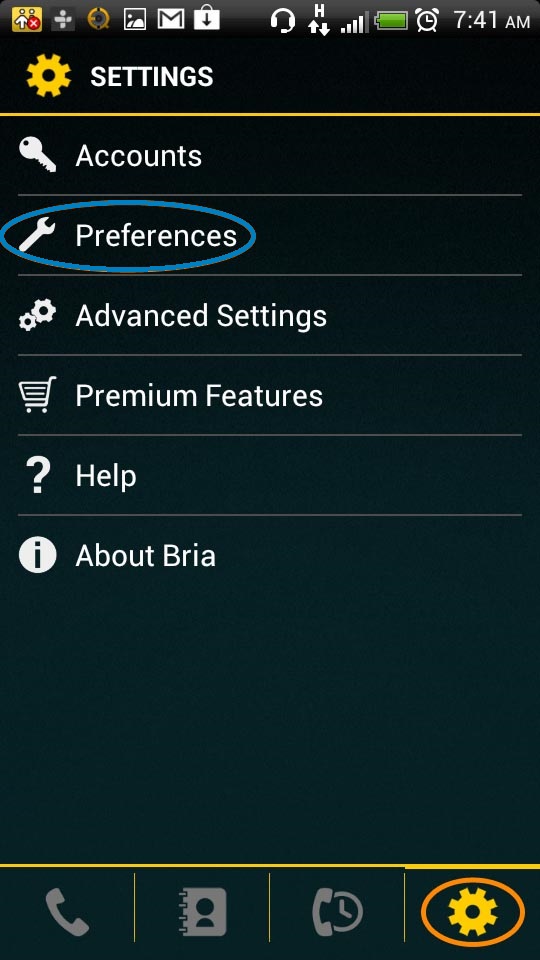
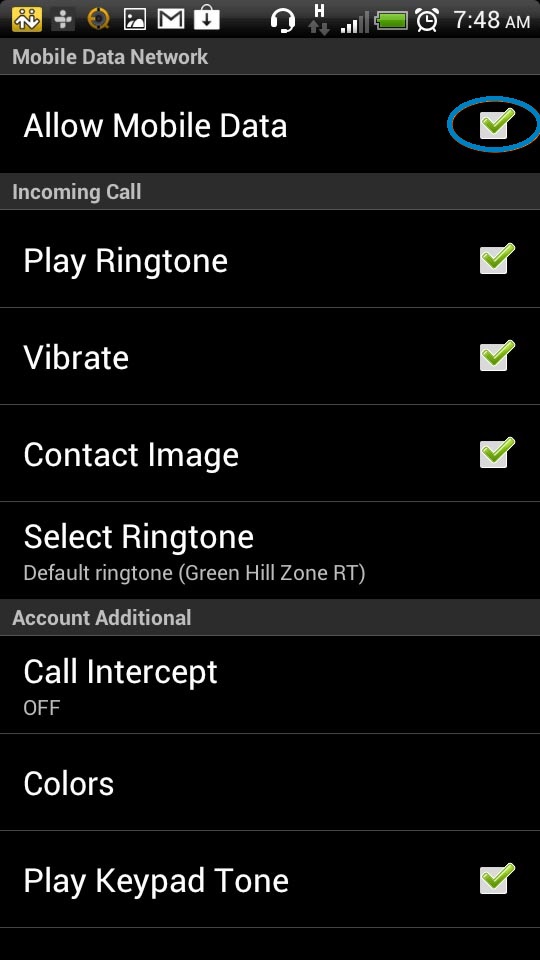
Tap the gear icon, tap Preferences, then tick Enable Mobile Data
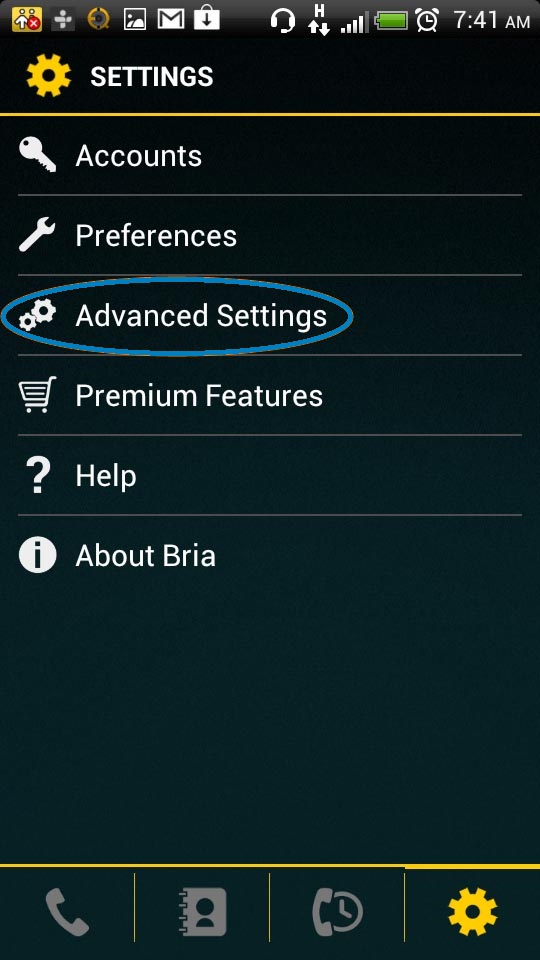
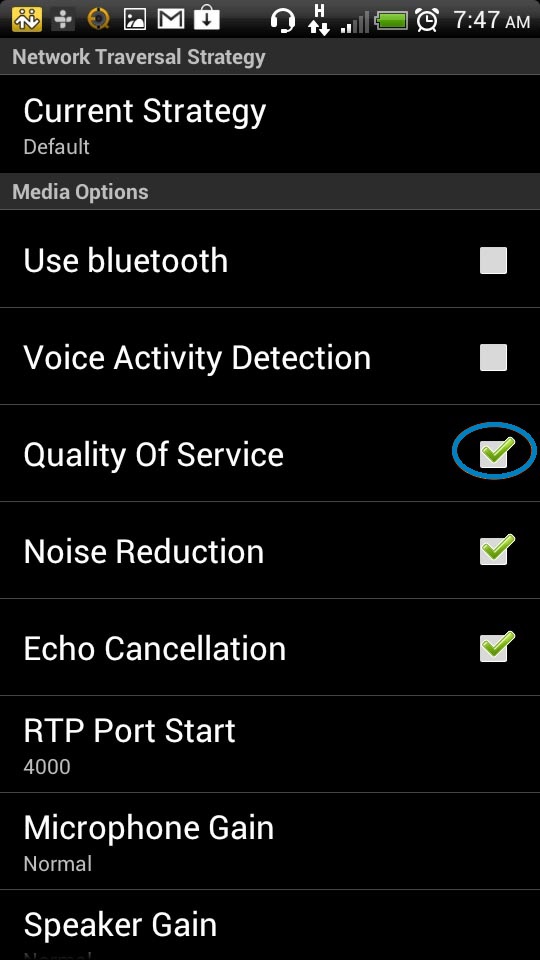
Navigate back to the Settings page and tap Advanced Settings. Enable Quality of Service
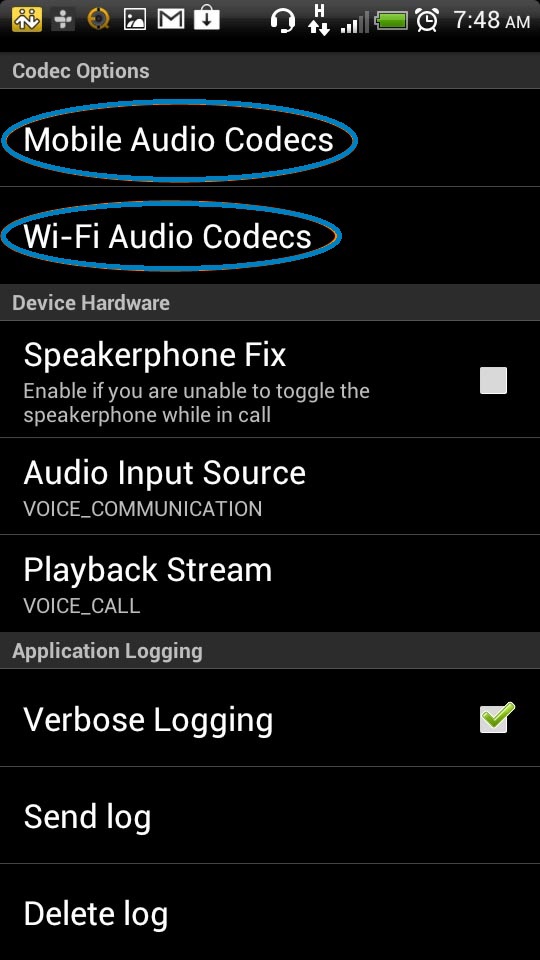
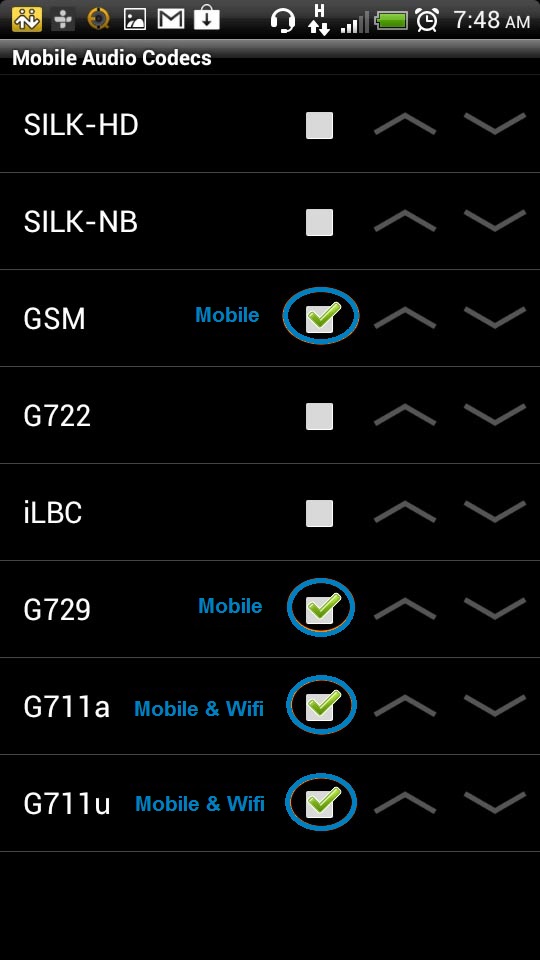
(Optional) Still in Advanced Settings, select Mobile Audio Codecs and enable GSM, G729, G711u & G711a, followed by WiFi Codecs, enabling G711u & G711a
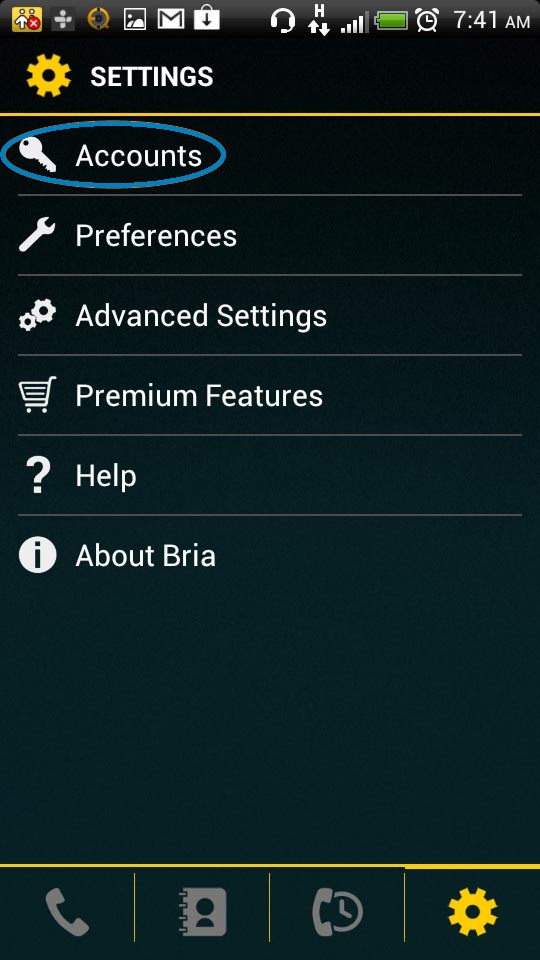
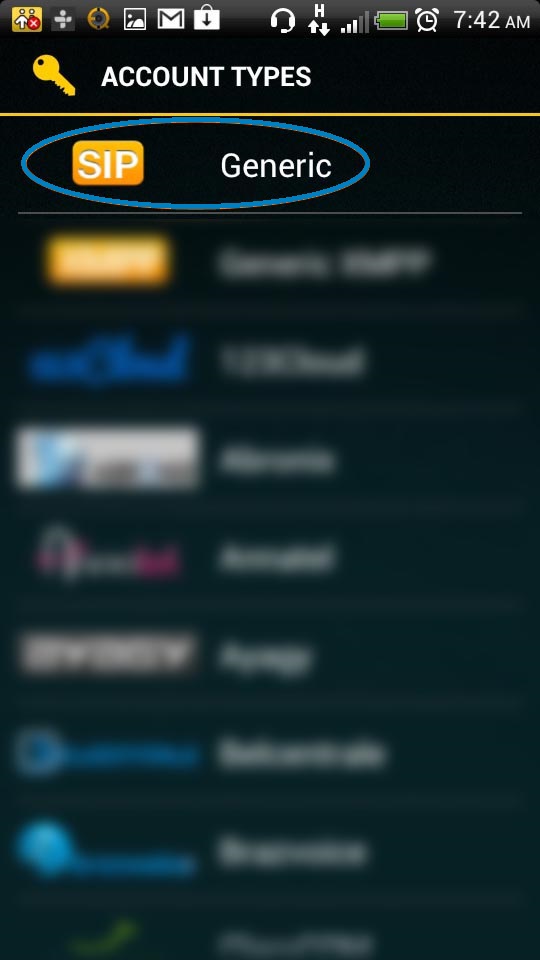
Navigate back to the settings page and select Accounts, then tap the + at the top right, followed by SIP (Generic)

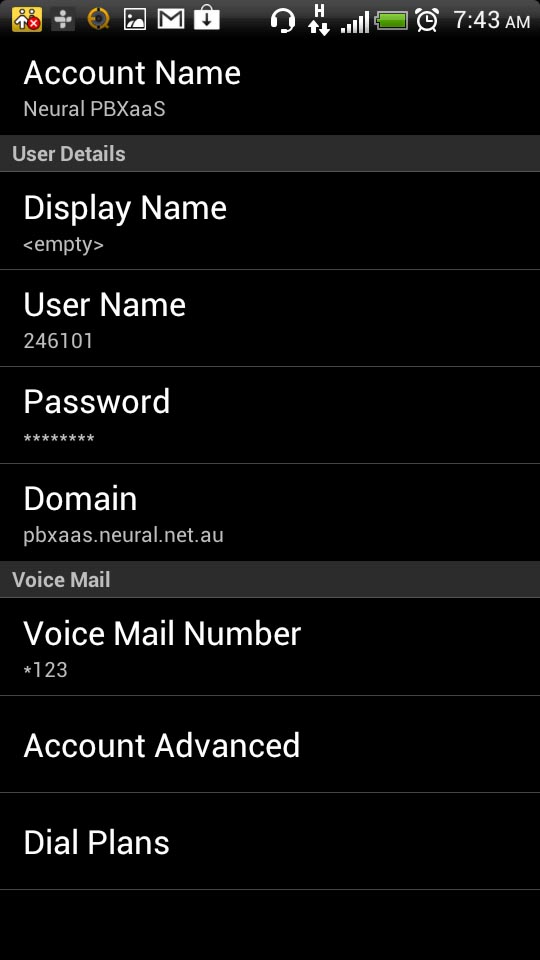
Enter the Account Name as Control Networks PBXaaS, and fill in the fields with details provided to you.
- Note: domain will be pbxaas.neural.net.au, and voicemail number is *123
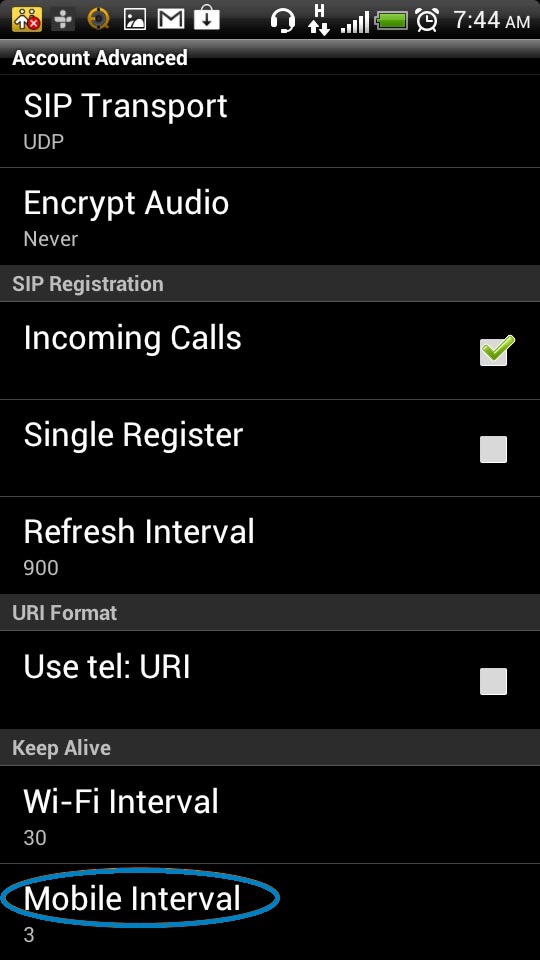
Tap Account Advanced, then change the Mobile Keep Alive Interval to 3
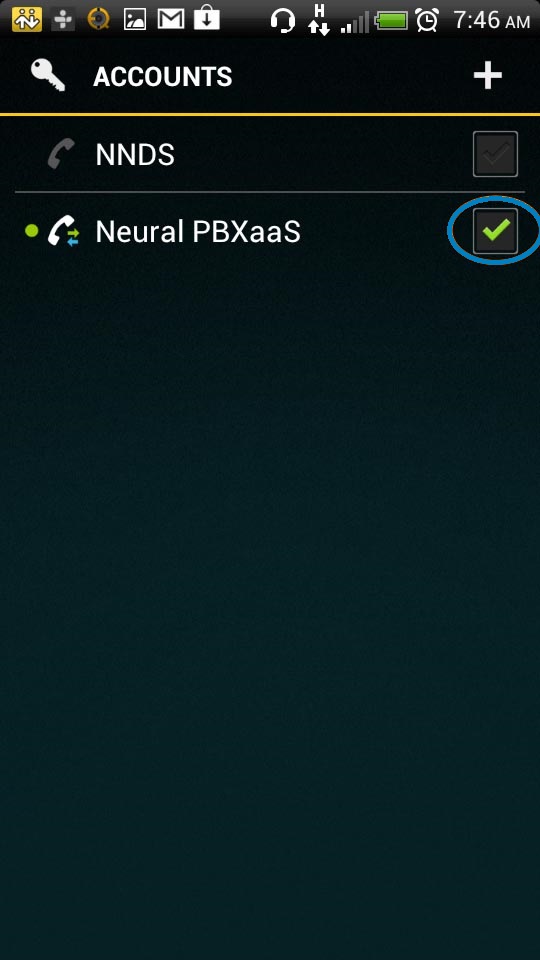
Finally, navigate back to the Accounts page and enable your Control Networks service
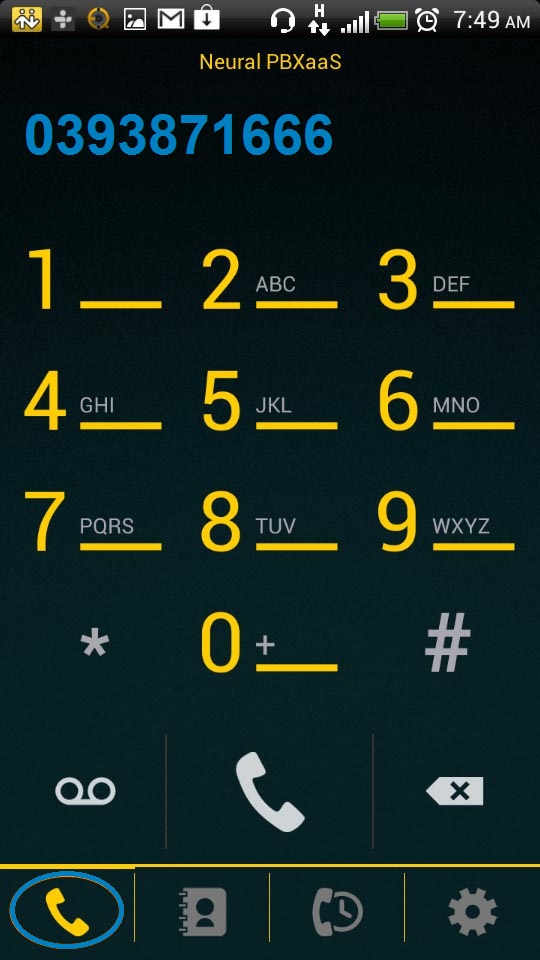
You can now make phone calls by going back to the main screen and tapping the phone icon.